What you will learn
Transfer everything you learn from this course into any programming language you choose. Like JAVA, JavaScript, Python, C++ and other object oriented languages
Become a professional programmer by learning “Version Control” a tool used by expert engineers. Not only in game development but in all programming projects
Learn the fundamentals of C#. Everything from variables, “if” statements and creating an object oriented structure. No prior programming experience necessary.
Master the art of problem solving when it comes to game development. By understanding what obstacles you may face and the many ways to find solutions
Description
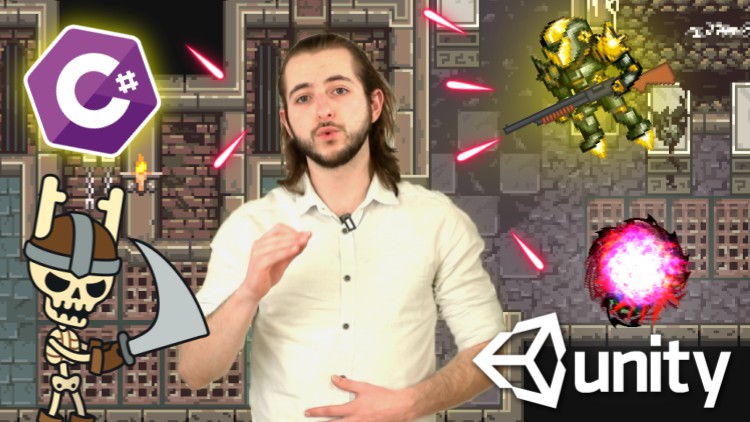
This course is made with the latest content and newest technics used in modern Game Development (Unity 2D 2022)
The best way to learn anything is by doing it in a really fun way and this is where this course comes from. If you want to learn how all these incredible games you see are made there is no better place to start than this course. We made sure that this course has everything you need to take you from a beginner (even with zero codding experience) and slowly take you to intermediate level
I chose the main project in this course to be a 2D Roguelike because it not only has a vast library of game development concepts that we can implement and learn, but also because it’s very simple (especially if you are a beginner) to delve in and get started on your game development journey.
Everything in this course has been meticulously crafted, review and recrafted to provide you with the best experience possible and maximize your learning as much as possible. So not only will you have a great time learning you’ll also get the most value by going away from this course with a lot of tools in your arsenal to continue you journey in the wild west of game development.
Section 1: Introduction
We’ll start off by downloading Unity and Visual studio. Installing them and making sure they work. We will then create our first code in C# and get used to Unity interface. Finally we’ll talk about the game design of our game and what it takes to start creating a game from scratch
Section 2: Setting Up Our World
In this section we are going to start learning what sprite sheets are and how to set them up. We’ll learn what sorting layers are in Unity. We’ll look into colliders and RigidBodies and add them to our game objects and see how it starts getting affected by physics. we’ll learn how to animate our sprites. We’ll even understand what blending trees that will greatly help us reduce difficulty of animating
Section 3: Setting Up Shooting Mechanics
In this section we will be creating our players bullets, firing then in the direction out mouse is pointing, having a counter to create automatic firing and add impact effects to those bullets. While doing all of that we’ll be learning about prefabs and instantiation and how to manipulate the world of our game to make it look much nicer
Section 4: Setting Up Enemies
This section completed the previous one. We create our shooting mechanics but now we need something to actually shoot at. We’ll be setting up our enemies and moving them towards the player. We’ll delve deeper to animations by adding the to our enemy and the use methods, arrays and something called a Coroutine that will take us deep into C#
Section 5: Creating Rooms (Tile map)
Up to this point we used a pre-created image to represent the map. Those days are over and it’s time for us to create our own map. We’ll be introduced to tilemaps in Unity, add various colliders to it and learn about a mechanic in Unity that few know which is the Cinemachine. We’ll also have our fair share of C# when we learn foreach loops, and Lists
Section 6: Level Flow
In this section we will learn about the scene manager in Unity that will allow us to create multiple levels in our game and transition between them. Plus we’ll learn a very tricky way to making sure we always arrive in the right position when moving through our worlds
Section 7: Destructible Environment
This is One of the most fun section in the course. Every roguelike has a dashing mechanic and we are going to have ours as well. We’ll add a tornado mechanic but not only will it make us invincible and a bit fast it will also destroy any “destructible” game object in our path
Section 8: Advanced Shooting (weapons system)
What’s better than having a weapons to shoot with? Having a lot of them and being able to choose between them on the go, we’ll be adding multiple weapons to our game. Each with their own using shooting style, speed and damage. With various bullets and firing rate for each. Not only that, we’ll also make our camera shake whenever we shoot to add more weight to our game
Section 9: Health System
In this section we’ll be adding a player health system. We also visualize it by create a health bar that we can clearly see on a Canvas. We’ll learn how we can update that health bar through script and add a cool death screen every time our player suffers a death. Finally we’ll be adding spikes to the ground, once the player gets on them they will get hurt and lose a bit of that health
Section 10: Pickups
In this section we’ll delve into pickups. We’ll be picking up weapons from the ground. Coins with which we’ll be able to buy money in shops, health packs that once hurt we can go and pickup and we’ll also add a chest that we can open and get a weapons from. A random weapons this is where our C# skills will be begin to come to fruition
Section 11: Music & SFX
Time to breath some life into this game adding sound effects and Music. Now our game goes from static to dynamic. We will add background Music and SFX. To each level and each interaction respectively
Section 12: Multiple Enemy Types (Some should have melee attacks)
What’s more fun that having 1 enemy that can kill you? Having 4 different type of enemies that can kill you. We’ll have the wanderer, the patroller, the scared enemy and the angry skeletal enemy. This section will be the foundation of our enemy AI and will open the doors for the way we’ll implement our boss in the upcoming section
Section 13: Shop & Money System
Now that we pick up items, we want to sell them… for MONEY! who doesn’t like money? we will introduce a monetary system so basically create an economy. We create a shop with a shop keeper inside and we’ll be able to transact with him using the money we have to buy and the items we have to sell
Section 14: Creating Menus
Every game HAS to have a main menu. But it also needs a dynamic main menu. We create a simple menu with a background. But the exiting part of this is the way we give the ability to our player to either continue from his last save or start a new game. We’ll also be adding a Victory screen, a way to restart the level after death and a Pause/Resume mechanic
Section 15: Boss Battles (Advanced Unity State Machine)
It’s time for the really fun part here. We’ll be create a boss fight fight. But not just any boss fight, this boss fight will be using a state machine. Which is also at the same time out animator. We’ll be suing it to transition the boss from state to state, and in each one he will have a different set of attacks
Bonus Section 16: Room Generation (Advanced C# Object Oriented Programming)
We come to our final section where we will be creating multiple rooms each with it’s fun little tweak on the game mechanics, we’ll have a random enemy spawner. We’ll have doors that are closed and that upon only once we destroy all the enemies in our desired level. And we will have an option to choose between 2 levels to go to after we kill everyone that’s in here
What You Will Learn In This Course:
-
Use Visual Studio with Unity in a simple way
-
How to set a good Game Development environment
-
Unity Engine are in a simple and comprehensive way
-
The Basics of C# in the most fun ways possible by creating a game
-
Use player input to control the behavior of our game
-
Add different component to game objects
-
Add gravity and other forces to game objects
-
Make game objects interact with each other in our game
-
Add sprite sheets and slice them up
-
Create Tile assets
-
How to create levels from our tile assets
-
Become a ninja problem solver and learn how to go step by step to solve any problem in Game Development and coding
-
Create animations
Content
Introduction
Setting Up Our World
Setting Up Shooting Mechanics
Setting Up Enemies
Creating Rooms (Tile map)
Level Flow
Destructible Environment
Advanced Shooting (Weapons System)
Health System
Pickups
Music & SFX
Multiple Enemy Types
Shop & Money System
Creating Menus
Boss Battles (Advanced Unity State Machine)
Room Generation (Advanced C# Object Oriented Programming)