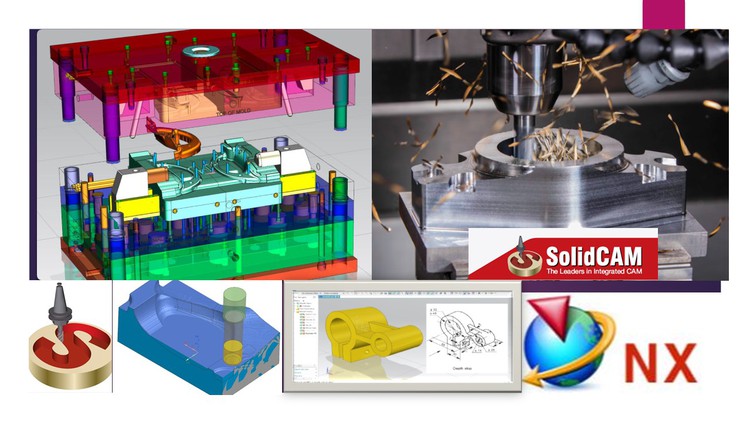
Injection Mold for part with NX Mold Wizard & NX CAD (Modelling – Assembly – Drafting) + Manufacturing with Solidcam2023
What you will learn
After successfully completing this course, you should be able to use Design Intent to plan and create NX Sheet Metal parts.
After successfully completing this course, you should be able to Set up default standards and creation preferences.
After successfully completing this course, you should be able to Use NX Sheet Metal tools to create base features and add more advanced features to them.
After successfully completing this course, you should be able to Use the Sketch Task Environment to create and edit profiles for sheet metal parts.
After successfully completing this course, you should be able to Edit parametric features.
You will learn the steps of NX Injection Mold (From start to the End)
You will be able to create 3D Model, Assembly and Drafting
You will learn Solidcam 2023 (Milling 3Axis, 5 Axis – Turning – Drilling)
Description
Course Main Contents (4 Courses!):
- Course 1: NX Mold Wizard Basics
- Course 2: NX Sheet Metal
- Course 3: NX CAD (Modelling – Assembly – Drafting)
- Course 4: Solidcam
Description:
- You will be professional user in Solidcam 2023.
- You will learn Solidcam 2023 (Milling 3Axis, 5 Axis – Turning – Drilling)
- Introduction to the components of the Mold
- Mold Wizard is a collection of tools that assist you by automating common
mold design tasks.
- You will learn the steps of NX Injection Mold (From start to the End)
- After this course, you will be able to use the NX Mold Wizard to do any injection mold part.
After successfully completing this course, you should be able to perform the
following activities:
- Create Mold Wizard product assemblies
- Apply a shrink factor
- Define core and cavity regions within a product model
- Create patch up (shut off) geometry
- Create mold tooling inserts
- Use mold base libraries to choose a standard mold base
- Use standard part libraries to select and position common parts, including insert pockets, sub inserts, cooling channels, gates, runners.
- Create a bill of materials
- This course addresses all the tools available in the NX Sheet Metal application for creating machinery, enclosures, brackets, and other parts normally manufactured with a brake press. It shows how to create base features like tabs and contour flanges, and build on them with more advanced features such as gussets and louvers.
- It also introduces the Advanced sheet Metal and Aerospace functionality: Joggle, and Analyse Formability – One-step.
- After this course, you will be able to use the NX Sheet Metal to do any Sheet metal part.
- After this course, you will be able to use the NX CAD (Modelling-Assembly-Drafting).
- After this course, you will be able to use Solidcam 2023.
- You will learn Solidcam 2023 (Milling 3Axis, 5 Axis – Turning – Drilling)
Notes:
- You will download all parts that we used during the course.
- The implementation of this course is in NX 11 but you will be able to implement using any version.
- You will be able to use NX Sheet Metal after first Lecture.
- You will have full technical support .
English
language
Content
Introduction
Introduction
NX Sketch & Extrude Overview ( Sheet Metal Prerequisites )
NX Sketch & Extrude Exercise
NX Sheet Metal base features
Sheet Metal Base (Tab)
Sheet Metal Flange & Contour Flange
Sheet Metal Bend Options
Sheet Metal Corner Options
Sheet Metal Bend Options and Cut-out
Sheet Metal Three Bend Corner
Sheet Metal Joggle Advanced Flange Lightening Cut-out
Convert part to Sheet Metal
Sheet Metal from Solid
Analyze Formability – One-step
Metaform Part 1
Metaform Part 2
Sheet Metal Features
Sheet Metal Feature Pattern
NX Sheet Metal Exercises
NX Sheet Metal workflow
Exercise 1
Exercise 2
Exercise 3
Exercise 4
Exercise 5
Exercise 6
Exercise 7
Exercise 8