Discover the Fastest, Easiest Ways to Use Masks in Photoshop
What you will learn
Use Masks to speed up their Photoshop production
Use Masks to make superior images
Use Masks to manipulate images easier
Description
“Five Fast Masking Tips in Photoshop CC” is for intermediate Photoshop users.
A project based course, Photoshop users who, while very proficient in their everyday work areas, are not familiar with the best processes to use Masks to manipulate their images quickly and professionally, will find this highly-focused course a delight.
We go thru specific projects, which students can follow along and practice beside us. These projects are designed to get the Photoshop user up to speed in the least amount of time.
Due to the focused nature of the course, if students end up not using Masks for a few months and forget what they learned, they will be able to quickly and easily find the specific function they need to use, review it and get back up to speed fast.
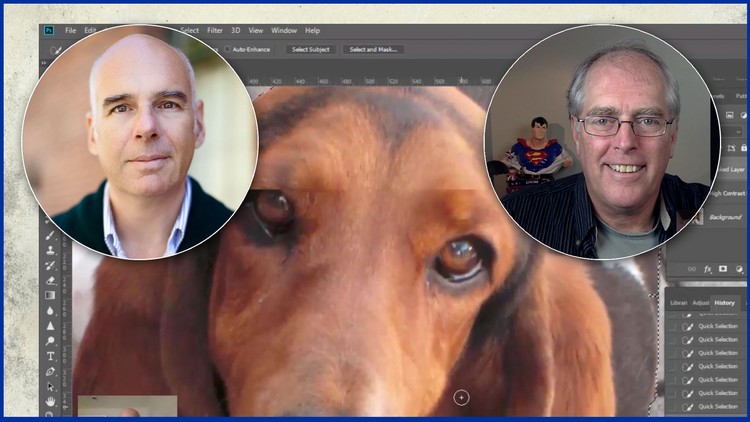
Masking is a term used to describe the process of removing part an image from the background. You can then use the masked object in another composition. Masking can be challenging, especially if the foreground image intermingles with the background. Examples are fur or hair. In this course you will learn 5 fast ways of preparing images for masking, and masking the images you work with, quickly.
When you are done, you will know how to mask images with the Magic Wand tool, the Quick Selection tool, the Color Range Command, and the Pen tool.
All of these will give you many options for creating high-quality masks.
Content