Master various advanced techniques and “cheats” to create digital paintings quickly
What you will learn
Advanced transformation and distortion techniques
Advanced layer features
Various techniques for creating patterns and textures
Photobashing techniques
In-depth understanding of how brushes work in Krita
Create your own custom brush
Create illustrations with a painterly style
Various “cheating” techniques to speed up the workflow
Description
Krita is a graphics application that is comparable to Photoshop. But, unlike Photoshop, Krita is free and open source. So you can download and use it without having to pay anything. Another thing that makes Krita different from Photoshop is that Krita focuses more on digital painting. So you will find many digital painting or drawing features in Krita that are not available in Photoshop. If you need software to draw or create illustrations, then Krita will make you feel right at home.
If you want to master Krita quickly and easily, then -in sha Allah- this online course is the best solution for you. However, you should be aware that this online course is designed as a continuation of the previously released basic and intermediate Krita courses. So to be on the safe side, make sure you take those courses first before taking this one.
What will you learn?
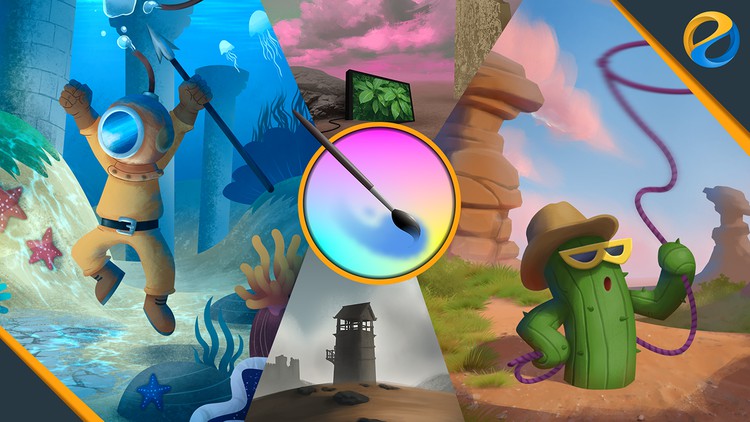
As a macro overview, I have divided this online course into 8 chapters, apart from the introductory chapter. In the first chapter, you will learn about various transformation and distortion techniques. Such as “Perspective”, “Warp”, “Cage”, “Liquify”, “Mesh”, and so on. Then, in chapter two, you will learn advanced layer features, namely “layer style”, “clone layer”, “file layer”, and “fill layer”. Next, in chapter 3, you will learn various techniques related to pattern and texture creation. You will use various pattern generators such as “multigrid”, “Screentone’, “SeExpr”, and so on. Then learn to create repeating patterns using the “wrap around mode”. Then, in chapter four, we will discuss the “Photobashing” technique. It is basically a technique of utilizing photos or external images to speed up the illustration process. Chapter 5 is the first big project chapter. Here you will learn to create an illustration of a deep-sea diver looking for treasure. You will learn the process in detail, from A to Z. In chapter 6, you will learn the ins and outs of the brush system in Krita. From the types of brush engines, sensors, to how to create your own brush presets and brush tips. With these, you will be able to create unique brush presets, such as creating sea plants or anemones on the fly, creating a rope in one stroke, creating a grass field in seconds, using plants that you design yourself, and so on. In chapter 7, you will learn painterly style drawing techniques, or digital illustrations that look like they were created with real brushes. In this chapter, you will also learn various “cheating” techniques. They are techniques that can help you create illustrations even faster. In chapter 8 or the last chapter, you will utilize everything you learned from the previous chapters to create an illustration of a cowboy cactus. The main challenge of this project is to create a painterly style illustration as quickly as possible. But also as flexible as possible, so that it’s still easy if we have to make future revisions to the drawing.
So join now! And upgrade your Krita skills to the fullest potential.
Content