Let home improvement mentor Steve Maxwell show you how to complete repairs on simple drywall issues before painting.
What you will learn
Choose the essential tools and supplies for a drywall patching kit
Patch those pesky and annoying nail and screw holes in three quick steps
Fix drywall screw and nail pops at least as well as any professional drywaller
Understand the difference between drywall compound, wall spackle and setting-type wall compounds
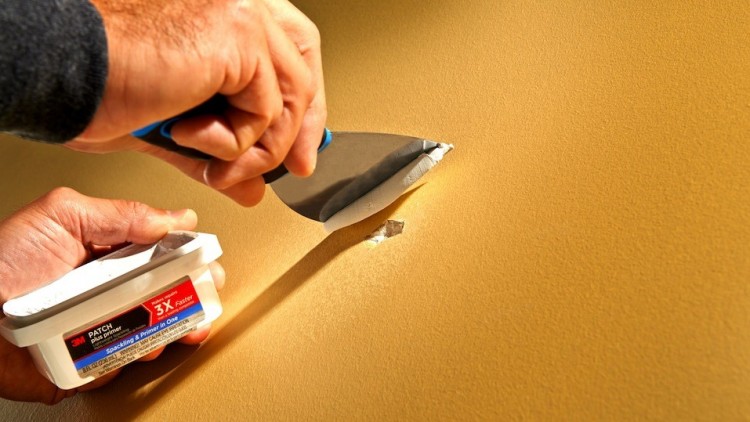
Patch holes as big around as a walnut using nothing more than two hand tools, setting-type compound, spackle and a sanding sponge
Repair damaged areas larger than a walnut using strips of wood as backing supports.
Apply critical fine-tuning steps to patched areas before repainting
Choose proper masking tape for different applications
Apply special painters tapes like this so you get super-crisp painted results just like a pro
Use painter’s tape while caulking to virtually guarantee perfectly crisp results around bathtubs, windows, doors and anywhere else
Description
Patching drywall and masking walls lays the essential groundwork for any good interior paint job, and doing this work yourself is an excellent way to save money. Veteran home improvement instructor Steve Maxwell shows you how to make success easy.
Patching and wall prep skills aren’t just for people who do their own painting. Are you planning to hire a professional painter? Prepping walls properly beforehand is still worthwhile because it saves the painter time and hassle, and this means you save money.
Wall prep is one of those things that’s frustrating if you don’t know the tricks, but easy when you understand the basics. That’s where this course comes in. Steve shows you exactly how to achieve professional-grade wall prep and masking results, even if you’ve never done it before.
After taking Steve’s course you’ll know how to:
- Choose essential tools and supplies for assembling your own wall patching kit
- Patch pesky and annoying nail and screw holes in three quick steps
- Fix drywall screw pops at least as well as any professional drywaller
- Understand drywall compound, wall spackle and setting-type wall compounds
- Patch holes using two hand tools, compound, spackle and a sanding sponge
- Repair damaged areas larger than a walnut using strips of wood as backing supports.
- Apply critical fine-tuning steps to patched areas before repainting
- Choose proper masking tape for different applications
- Apply painter’s tapes so you get super-crisp painted results just like a pro
- Use painter’s tape to create neat caulking around bathtubs, windows – anywhere
Content