Learn How to Interface, Code, and Create Dynamic Displays with Arduino in Under 2 Hours!
What you will learn
Basics of LCD displays and hardware requirements
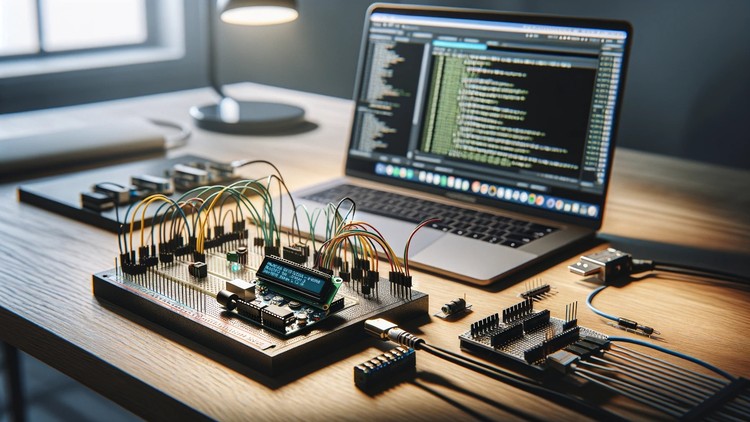
How to connect an LCD to an Arduino
Writing and uploading code to display text
Animating text on the LCD screen
Creating and displaying custom characters
Displaying Dynamic Data: Learn how to display real-time data, such as sensor readings, on the LCD screen.
Managing Multiple LCDs: Explore techniques to control and synchronize multiple LCD displays with a single Arduino.
Building Real-World Projects: Apply your skills by building a digital thermometer using an LCD display.
Designing a Basic User Interface: Create a user-friendly interface using the LCD, allowing for interactive control.
Debugging and Troubleshooting: Gain strategies for diagnosing and fixing common issues encountered when working with LCDs and Arduino.
Why take this course?
Unlock the full potential of your Arduino projects by mastering LCD interfacing! Whether you’re a hobbyist or an aspiring engineer, this course will guide you step-by-step through the process of connecting and coding LCD displays with Arduino. In just less than 2 hours, you will go from understanding the basics of LCDs to creating dynamic displays that can take your projects to the next level.
This course is meticulously designed to be accessible to beginners, yet comprehensive enough to offer value to those with some experience in electronics. Each section builds on the last, ensuring that by the end, you will have hands-on experience in creating practical projects like a digital thermometer, a basic user interface, and even managing multiple LCDs.
Why this course?
- Expert Guidance: Led by an experienced instructor with a background in electronics and programming.
- Hands-On Learning: Every lecture is paired with quizzes and assignments to reinforce your understanding.
- Real-World Applications: Learn by doing—apply your skills in practical projects that you can showcase.
- Engaging Content: Clear explanations, well-structured lessons, and a focus on the most essential concepts.
Here’s what our learners are saying:
“This course made understanding LCD interfacing so easy! The step-by-step approach and practical projects really helped me grasp the concepts quickly.”
— Jane D., Engineering Student
“I loved how the course was structured. The quizzes and assignments after each section made it much easier to retain what I learned.”
— Tom H., Electronics Hobbyist
“Excellent course! It’s clear, concise, and packed with useful information. I was able to build my own LCD projects right after completing it.”
— Sarah M., Software Developer
Call to Action: Enroll Now and Start Building Your Arduino LCD Projects Today!
What You Will Learn:
- The fundamentals of LCD displays and how they work.
- How to connect and configure an LCD with Arduino.
- Writing and understanding the first lines of LCD code with Arduino.
- Techniques for moving text and creating custom characters on the LCD.
- Displaying dynamic data and managing multiple LCDs.
- Building a real-world project: A digital thermometer using an LCD display.
- Designing a basic user interface with Arduino and LCD.
- Debugging and troubleshooting common issues in LCD projects.
Who Is This Course For:
- Beginners: New to Arduino or electronics? This course will take you from zero to hero in no time.
- Hobbyists: If you enjoy DIY electronics projects, this course will help you add an interactive element to your creations.
- Students: Ideal for engineering or computer science students who want practical experience in interfacing and coding.
- Makers: Anyone looking to expand their knowledge of Arduino and add more functionality to their projects.
Requirements:
- Basic Understanding of Arduino: A fundamental grasp of Arduino programming and circuits will be helpful.
- Arduino Board and Components: You’ll need an Arduino board (e.g., Uno), an LCD display (16×2), and basic electronic components like resistors and wires.
- A Computer: For writing and uploading your Arduino code.