Interface PIC Microcontroller using Serial Communication RS232 or USB and a Visual Interface
Why take this course?
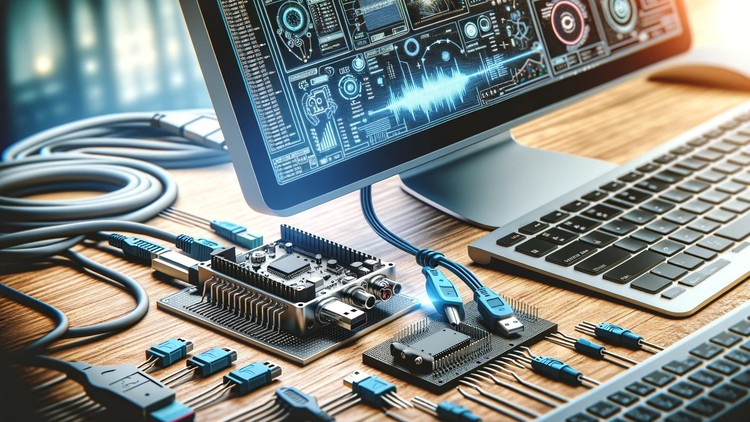
🚀 [Control PIC Microcontroller using a GUI via USB or RS232] 🌟
Course Overview:
Interface PIC Microcontrollers using Serial Communication RS232/USB and a Visual Interface
Unlock the Power of Microcontroller Communication
Welcome to this comprehensive course where you will elevate your skills in interfacing PIC microcontrollers with computers through advanced serial communication techniques such as RS232 and USB. Get ready to create a visual interface that will enable seamless data exchange between your microcontroller and computer.
Why You Should Take This Course:
- Extensive Content: Over 3.5 hours of Full HD instructional videos to guide you through the process.
- Supporting Materials: Includes example codes, diagrams, and comprehensive explanations for a clear understanding.
- Certificate of Completion: Showcase your new skills with a certificate awarded upon finishing the course.
- Simulation & Practical Lessons: Learn theory and practice everything you need to master USB and RS232 serial communication.
🚀 Learn to Communicate Efficiently 🖥️
With this course, you will be able to design a system that allows you to monitor and control various parameters like temperature, or command system devices such as fans or heaters from your computer, whether it’s a desktop or a laptop.
USB/RS232 Serial Communication: Your Gateway to Innovation 🌐
- Monitor different variables using a visual interface.
- Send control signals to manage system devices with ease.
- Build applications ranging from temperature controls to SCADA systems and beyond.
❓ Everything You Need to Know About USB Interfacing 🤔
This course will cover all the basics, challenges, and solutions you might encounter while interfacing a PIC microcontroller with USB. From design to simulation and real-world implementation, we have it all!
🎥 Deep Dive into USB Interfacing with PIC Microcontrollers 📺
- Extensive Lecture Series: A total of 39 Lectures with over 3 hours of HD Video Content.
- Hands-On Learning: Step-by-step guidance on designing, simulating, and connecting your system in real life.
- Become a USB Interfacing Expert: With our comprehensive approach, you will be proficient in USB interfacing with PIC microcontrollers by the end of this course.
Why Choose USB Interfacing:
- High-Speed Data Transfer: USB offers faster communication than traditional methods.
- Minimal Wiring: Only four wires are required to connect a PIC microcontroller to over 100 devices via USB.
- Energy Efficiency: USB interfacing allows for low power consumption, ideal for battery-operated devices.
- Support and Libraries: Leverage the vast support community and libraries available for USB interfacing.
Join us on this journey to master the art of microcontroller communication via USB and RS232 with a visual interface. Enroll in this course today and take your first step towards becoming a digital wizard! 🧙♂️✨