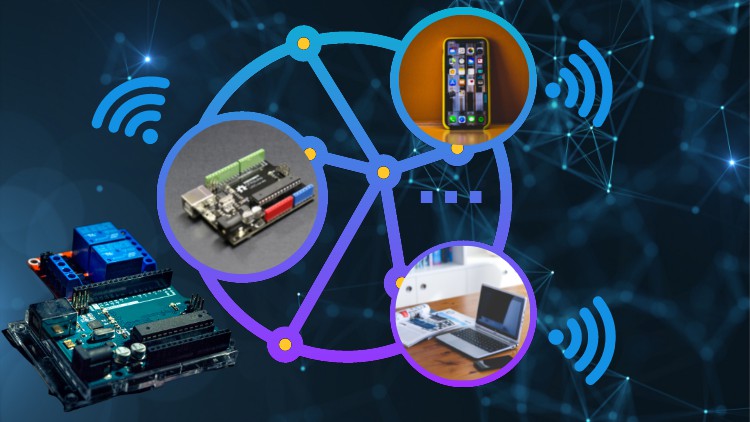
Make your Arduino a Web Enabled Board without WiFi Module with this step by step practical Guide
What you will learn
How to download and install the required software
The user interface and the components that you need to use to program Arduino without coding.
How to send output signals to different Arduino pins.
How to read digital input and control output.
Description
This course is designed for people who have a basic understanding of Arduino and want to learn how to add internet connectivity to their projects. The course covers everything from setting up the WiFi connection to sending data over the web. By the end of this course, students will be able to build projects that can communicate with the outside world using the internet.
Introduction:
Adding WiFi capabilities to Arduino boards is a great way to add web connectivity to your projects. There are a few different ways to do this, but the easiest way was to use an Arduino WiFi shield, however, it cost a lot and requires a lot of steps to be used correctly. In This course we will teach you how to use another board, cheaper, faster, and easier to set up than the old Arduino Shield, plugs into your Arduino board, and provides a WiFi interface. You can then use this WiFi connection to access websites, send data to the internet, and more.
Advantage of this course About:
- With this WiFi module, you can easily add web connectivity to your Arduino boards.
- This will allow you to control your projects remotely and opens up a whole world of possibilities.
- The ESP8266 Wifi module is a complete Wi-Fi network that can be readily connected as a serving Wi-Fi adapter, wireless internet access interface to any microcontroller-based design using its easy Serial Communication or UART interface.
- The WiFi module allows you to connect your Arduino boards to the internet, and the adapter board helps to convert the signals between the WiFi module and the Arduino boards.
Why you should take this course?
- Learn how to Add Wifi to Arduino UNO
- Learn to Connect your Arduino to the internet by adding ESP8266 WiFi Module!
- Learn the components required to make this happen.
- Learn to set up a connection
- Get started on your own projects right away and learn at your own pace
- At the end of this course, we will show you a better cheaper alternative to an Arduino board that has built-in WiFi and Bluetooth.
The process of this course :
There are numerous ways to communicate with ESP866. Some people may use it to send and receive data via the internet or to upload data on a regular basis. I’ll just teach you how to interface with Arduino wirelessly using your phone (Android or iPhone) in this tutorial. There will be no need for an internet connection because this will be done offline.
Our ESP8266 will act as an Access Point (AP Mode), giving other devices (stations) access to the Wi-Fi network and connecting them to a wired network.
The procedure is straightforward. Send any command to Arduino from your phone. Everything will be wireless thanks to the ESP8266.
Boards that can be Simulated:
- Arduino boards
- Arduino clones
- ESP8266, ESP32
- Raspberry Pi
- Teensy
- Femto IO
- Controllino, Goldilocks Analogue, FreeSoC2, chipKIT, micro: bit, Maple Mini, and a number of Arduino clones
I’ll show you how to program the Arduino board without having to write a single line of code; all you have to do is drag and drop.
You’ll learn how to construct any Arduino device without coding in this step-by-step guide. You’ll also learn how to use other modules such as Bluetooth, SPI, I2C, graphical LCDs, and stepper motors, as well as how to get started with Arduino programming without coding.
I’m confident that at the end of this course, you’ll find it much easier to create projects without coding.
If you are familiar with building mobile apps, web apps, web services, or web development in general, you can make client applications that can send TCP requests to ESP.
Sample apps you can make are Remote Control, Web Control Panel, ChatBot, Push the button app, etc.
You can also make 2 of these projects so they can talk to each other.
Or make another device that sends TCP requests to command the Arduino Uno.
Sign Up, learn and, Have fun! 🙂
Content