• Post category:StudyBullet-4
  • Reading time:7 mins read


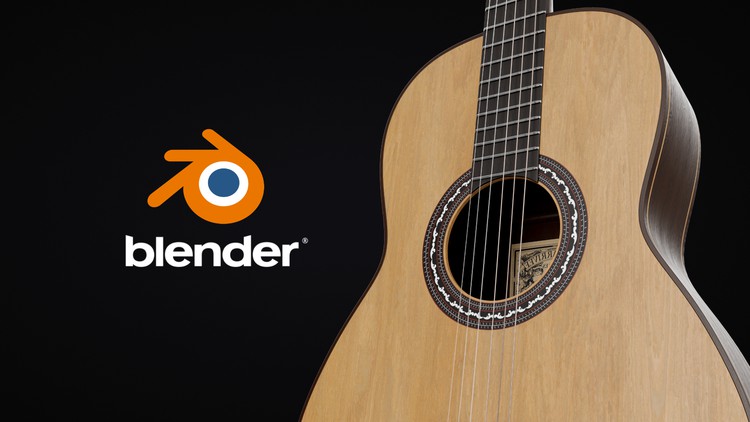
Model , texture , light and render a photorealistic guitar using blender 2.9

What you will learn

Simple to advanced blender tools and techniques

3D Modeling

uv unwrapping

texturing and modifying textures

lighting

Rendering

Post production

Description

Welcome to the Complete guide to photorealistic 3D product creation in Blender 2.9


Get Instant Notification of New Courses on our Telegram channel.

Noteβž› Make sure your π”ππžπ¦π² cart has only this course you're going to enroll it now, Remove all other courses from the π”ππžπ¦π² cart before Enrolling!


—-  Model , texture , light and render a photorealistic guitar using blender 2.9  —-

Hi there , my name is Ali N’cir . I am a 3D artist with over 3 years of experience in this field .

In this course you’ll learn about powerful modelling techniques that will allow you to model photorealistic products , and create custom textures and materials for them . Afterwards we’ll take a look at lighting and rendering in Blender’s built in cycles render engine and add some post production effect to add that final touch in order to take your renders to the next level . You will also learn about useful add-ons for blender that will help you throughout the whole process and speed up your worflow .

During this course , you’ll only need Blender 2.9 and Pureref which are both available for free .

This course is suitable for all skill levels , beginners included , all you need is to be able to navigate and look around the 3d viewport .

In this course you will learn :

  • High poly modelling techniques
  • UV Unwrapping and using multiple uv channels
  • Adding and modifying textures / materials
  • masking materials to add logos and decals
  • Product lighting technique
  • rendering the model in blender cycles
  • post processing in Blender 2.9

Enroll now and start learning by practicing !

English
language

Content

Course introduction and setting up our workspace

Course Introduction + Resource files
Setting up the workspace and addons
Setting up PureRef
Setting up the blueprints/reference images

Modeling the guitar

Modeling the Guitar body
Sharpening corners – Support edge loops
Adding the sound hole and thickness
Modeling the body rims
Modeling the first bridge piece
Modeling the second bridge piece
Modeling the third bridge piece
Finishing the bridge
Modeling the Heel
Modeling the guitar’s Neck and Headstock
Fixing the Shading issue
Modeling the headstock holes
Modeling the fretboard / frets
Modeling the Tuning plank
Modeling the Tuning pegs – P1
Modeling the Tuning pegs – P2
Arraying the Tuning pegs
Finishing the Tuning Pegs
Mirroring the Tuning pegs
Modeling the pieces inside of the guitar
Modeling the cables – Lower knot
Modeling the cables – Top parts

Texturing the Guitar

Preparing our scene for texturing and rendering
UV Mapping tips
Materials : basics and fundementals
Creating the first wood material
Adding the pattern around the sound hole
Creating the second wood material
Texturing the Bridge and Rims
Texturing the Heel , Neck and Headstock
Creating the fretboard material
Texturing the tuning plegs and the frets
Creating the strings materials
Adding the Label

Light, Render and Post production

Preparing the render scene
TIP : Camera depth of field
Post processing in Blender