An introduction to Java programming for the Raspberry Pi
What you will learn
Build a JavaFX application on PC
Instal Java and other tools on the Raspberry Pi
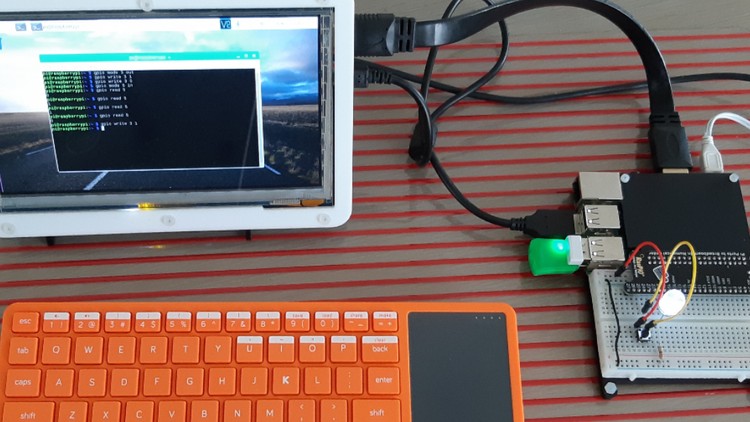
Interact with electronic components on the Raspberry Pi with Java
Run a JavaFX application on a Raspberry PI
Description
In this course I want to give you a quick getting-started with Java 11 and JavaFX 11 (and newer) on the Raspberry Pi.
It’s definitely not a full course on Java and JavaFX (there are already a lot of very good ones here on Udemy), but a guide to what you need to get a recent Java running on a Pi and to be able to control the GPIO’s via Java and show it in a nice dashboard-like JavaFX application.
English
language
Content
Introduction
Introduction
Setting up our Raspberry Pi
Hardware setup
Tip! Easily make a test setup with the RasPiO “Breadboard Pi Bridge”
Preparing the SD card
Set up your own testing environment using a Pi and the SD card we created.
Installing Java 11 on a Pi
About Java and the version we are using in this course
What do we need?
Step-by-step
A minimal Java script to run on our Pi
Run a minimal Java script on the Pi without compiling
Creating a minimal Java FX application on the PC
Let’s start programming!
How to build the application on a PC with Visual Studio Code
Running the minimal Java FX application on the Pi
How to download and run the minimal JavaFX application on the Pi
Attach some hardware to the Pi
Wiring of a LED and button for our experiment
Wiring Pi
Testing the connections via the terminal on the Pi
Building a Tiles FX application on the PC
Sources on GitHub
Sources as download
What is TilesFX?
A look into the code on PC with Visual Studio Code
Running the Tiles FX application on the Pi
Clone the project from GitHub to the Pi
Let’s first try HelloGpio.java
Why we need to install TilesFX first
Script to install the TilesFX library on the Pi
How to install TilesFX
Run our application on the Pi
Conclusion
This is the end of our journey