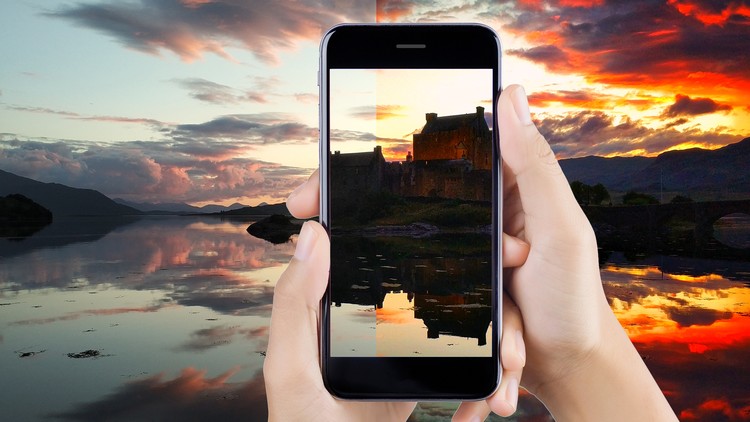
Learn how to bring life to your images
What you will learn
The basic tools of Snapseed
Mobile Photography Editing
How to combine several tools into simple yet effective editing
How to edit an image from scratch and make it look amazing
How to be confident in editing any image, regardless of the type (landscapes, architecture, still life, commercial)
How to be consistent in your editing process and have fun while you’re doing it
Description
Snapseed is one of the best apps for editing photographs. It is very intuitive, user friendly and free. It works both on Android and iOS and for someone who enjoys taking smartphone photos, it is an excellent choice for editing.
The goal of this course is to help you be(come) confident in using Snapseed, starting from the very beginning, the tools. Once you understand how these tools work, then you can use them precisely on your needs and not just apply them and hope they work. Because photography is such a creative domain, no two photos are alike. And nor is their editing. Therefore, it is best to understand what you are doing (both in taking photos and editing) and apply that knowledge. Next, after you understand what each tool does, you can apply them individually or combined, confident that you will know what the end result will look like. Unlike other courses, this one covers the basics of these tools, to give you knowledge and confidence. If you already know these tools, simply skip to the parts that are of interest for you.
You will notice that the course is divided in three major parts. First part covers the basic tools I mentioned before (how to apply each tool to an image and the effects it brings). The second part covers examples of simple editing applied to certain images, where several tools are combined. And the third part covers more advanced editing, where you can see nine images from three categories (architecture, landscape and commercial), edited from zero to finish, with most of the tools combined and explained.
For your convenience, I also added the images used for this course, so you can use them yourself in your editing and learning process. Feel free to use them or experiment with your own photos.
Taking part in this course, you will receive an A to Z training from a professional photographer and trainer, on a pace that is specifically thought for you, with real life examples of locations and objects. Going through this course will give you access to all the updates that will follow and allow you to edit both your personal photos in a way to amaze your friends and also edit images for professional reasons, should you decide you want to sell photos online or photos of products to be commercialized online. The info I give in this course also comes from years of experience selling photos online on dedicated websites for stock photography. And nowadays, with the advances of smartphone cameras and editing apps, the balance of DSLR versus smartphone photos rapidly tilts towards smartphone photos for me and other photographers and, why not, for you as well.
In the end, you will become more consistent in taking photos, because now you know that you are able to bring them to life the way you saw them in your mind. You will also become more confident in editing photos and advancing into more complex editing techniques. Last, you will do all of this in a fun and relaxing way. Because photography should be, first and foremost, enjoyable.
Content