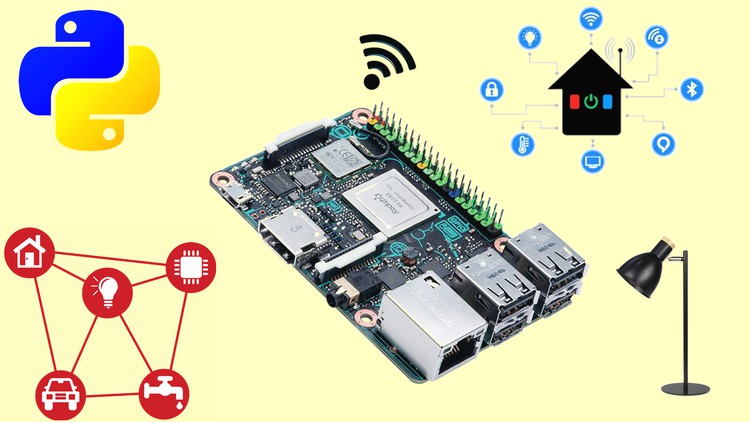
OS Installation, Full Fledged PC, Remote Access along with Beginner, Intermediate and Advanced Level Project Development
What you will learn
Get to know about Asus Tinker Board and its detailed specifications.
Learn in detail, how the Tinker board is different from Raspberry Pi.
Learn to burn the operating system image to micro SD card and make it bootable ready.
Get to know, how to assemble all the hardware components and use the tinker board as a full-fledged personal computer.
Learn about the IP scanner tool and how to access the Linux terminal of the Tinker board using Putty.
Get to know about the important Linux command which will help you to do most of your day to day tasks via command-line.
Learn about virtual computing and how we can remotely access the graphical user interface of the Tinker board in windows PC.
Get to know about the general-purpose input-output pins and how to access them sequentially.
In the first project, we will start with physical computing and complete the basic light controlling project.
Going ahead with the intermediate level, we will learn to build an automatic garden light project, where we will learn to program the sensor as per our usage.
In the advanced level project, we will build an Home Automation project, where we will learn to control 4 different home appliances from anywhere.
Finally, we will learn to transfer the files from windows PC to the tinker board using File Transfer Protocol.
Description
Don’t let errors hold you back! Our dedicated technical support team is here to assist you every step of the way. Whether you have a question or concern, simply post in the Question and Answer section and one of our experts will get back to you within 24 hours. They are available from Monday to Saturday, ensuring you complete satisfaction for all the errors you encounter.
Apart from that, your money is 100% safe as the course comes with a 30-days, no-questions-asked Money Back Guarantee. For any reason, if you are not happy with the course, the entire amount will be refunded back to your bank account.
So at the end of the day, you have nothing to lose. Enroll in the course with confidence and complete peace of mind and take your technical skills to the next level.
Hello Everyone, I would like to introduce you to a brand new online course “Getting started with Asus Tinker Board”. I have always been a firm believer in learning by doing and in this course, you will learn what you need to know by hands-on experience. You don’t need any special knowledge except basic computer skills to get started with the course. Every one of you comes from a different background and hence the course is crafted from basic to advanced level with minute details in every lecture.
The course is divided into 8 sections. In the first section, you will learn in detail about the Asus tinker board and how it is different from its competitor Raspberry Pi.
In the second section, we will understand how to burn the OS image to the SD card and use the tinker board as a full-fledged PC. Once we are done with this we will go ahead and understand the IP scanner tool and then use the putty application to access the Linux terminal of the Asus tinker board.
Starting on a Tinker board is not always easy because you don’t necessarily have the habit of using command lines. However, they are essentials and often faster or more efficient than going through the GUI. So in the third section, we will get to know about all the day to day usage Linux commands with practical examples.
The fourth section begins with remotely accessing the graphical user interface of the tinker board and understanding the basic GUI applications. Once we are done with this we will go ahead and understand the general-purpose input-output functionality.
In the fifth section, we will step into the world of physical computing. We will begin with a basic project where we will learn to program different LEDs and a buzzer. This will help us to understand the GPIO pin structure and how to use them for programming.
The sixth section exposes you to the intermediate level of project development. Here, you will learn to build automatic garden lights. This project will solve your day to day problems of manually turning the light ON in the evening and then turning it off again in the morning. You will learn to program and automate things as per your requirements.
In the seventh section, we will go ahead with the advanced project where we will learn to build our own home automation project. We will first understand about the IoT and how it is implemented in real-time. You will learn to control your home appliances from anywhere. For example, If you are in the US, you will be able to turn off your lights from the UK.
Finally, in the eight section, you will come to know how to transfer files remotely from PC to Tinker Board. You will also go through what you have learned so far in the entire course.
Please note that the project covered in the course will work on any version of the Tinker Board.
All the lectures contain English subtitles for clear and better understanding. If you face any technical issues, please post your query in the question and answer section and I will get back to you within 1 business day.
At the end of the course, you will have a solid foundation on tinker board, relay and sensor usage, IoT dashboard implementation, etc. So apart from building this project, you will also find it easy to build any other project of your choice.
Thank You
Content