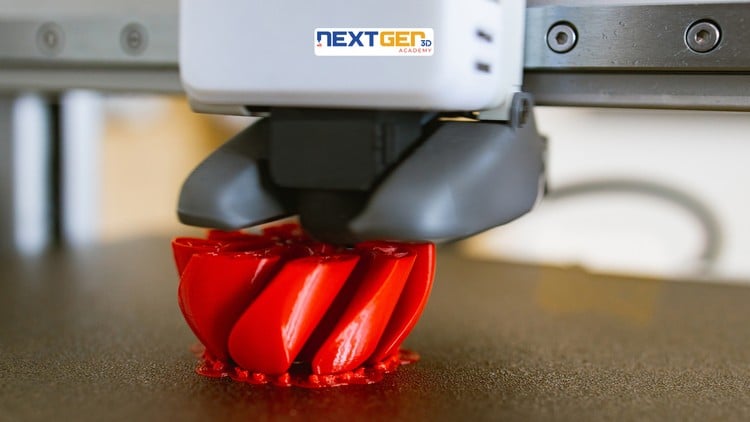
Master DfAM design rules, layer adhesion, supports, topology optimization & lattices with real aerospace & medical cases
What You Will Learn:
- Apply core DfAM principles to design parts that exploit the unique freedoms of additive manufacturing
- Select correct wall thickness, feature sizes, overhang angles, and clearances across FDM, SLA, SLS, and metal printing
- Predict and design around layer adhesion and anisotropy by choosing optimal build orientations
- Plan, minimize, and remove support structures while protecting critical surfaces and finish
- Use topology optimization, generative design, and lattice structures to achieve major weight savings
- Translate proven aerospace and medical DfAM case studies into your own engineering projects
Alright, let’s talk about Additive Manufacturing, specifically this “Complete 3D Printing Guide” focused on Design for Additive Manufacturing (DfAM). As someone who’s seen the industry evolve from hobbyist FDM printers to serious industrial applications, I can tell you that DfAM isn’t just a buzzword – it’s the fundamental shift required to truly unlock the potential of 3D printing beyond mere prototyping. This course aims to be your compass in that journey, and honestly, it largely delivers.
Overview
Forget simply knowing how to load filament or set print temperatures. This isn’t your introductory “What is 3D printing?” class. Instead, it dives headfirst into the critical nuances of designing parts *specifically* to exploit the unique freedoms and mitigate the inherent challenges of various additive processes. It bridges the often-missing gap between theoretical knowledge of additive processes and the practical, engineering-driven design decisions that dictate success or failure in a final, functional part. Where many courses give you a superficial tour, this one rolls up its sleeves and dissects the core design methodologies required to move from a standard CAD model to an AM-optimized component that actually works in the real world, whether that’s reducing weight in an aerospace bracket or optimizing heat transfer in a medical implant. It’s about leveraging AM’s strengths, like geometric complexity and material customization, without falling prey to its weaknesses in material anisotropy or support structure nightmares. It’s a deep dive into thinking additively, which is a mindset shift many traditional engineers need.
Prerequisites
While the title suggests a “Complete Guide,” I’d frame this as an excellent bridge for those with foundational knowledge rather than an absolute `beginner to advanced` path from zero. You don’t need to be an AM expert, but a basic understanding of 3D printing principles (what FDM, SLA, SLS generally entail) and some proficiency in CAD software would certainly help you hit the ground running. If you’re an engineer or designer with traditional manufacturing experience looking to pivot or expand into AM, you’re perfectly positioned. Even mechanical engineers, product designers, or materials scientists with a general interest in advanced manufacturing will find it highly valuable, provided they’re comfortable with technical concepts. For absolute beginners with no prior exposure to design or manufacturing, some concepts might feel advanced, but the course structure seems designed to guide you if you’re willing to put in the effort.
Skills & Tools
Upon completion, you’ll walk away with highly sought-after `job-ready skills` in critical areas of additive manufacturing. You’ll master specific DfAM principles for processes like FDM, SLA, SLS, and even metal printing, enabling you to select optimal wall thicknesses, feature sizes, and overhang angles. A major takeaway is the ability to predict and design around common AM pitfalls like layer adhesion and anisotropic material properties through strategic build orientation. Furthermore, you’ll gain expertise in planning, minimizing, and removing support structures efficiently, ensuring part integrity and surface finish. Crucially, the course introduces you to advanced techniques like topology optimization, generative design, and the effective use of lattice structures for significant weight savings and performance improvements. While the course itself might not be a direct tutorial for every single `industry-standard tool`, it equips you with the conceptual framework necessary to apply these principles using software like nTopology, Altair Inspire, or Autodesk Fusion 360’s generative design features, which are common in the field.
Career Benefits & Job Roles
The skills imparted by this course are directly transferable to a variety of high-demand roles, offering significant `career growth` opportunities. You’ll be well-equipped for positions such as Additive Manufacturing Engineer, DfAM Specialist, Product Development Engineer, R&D Engineer, or even Advanced Manufacturing Consultant. The ability to design parts that truly leverage additive manufacturing’s capabilities, reduce costs, and improve performance is a critical differentiator in today’s competitive landscape. For those looking to get into industries like aerospace, medical devices, automotive, or industrial machinery, this course provides a robust foundation and the practical knowledge needed to tackle `real-world projects`. It’s not just about understanding the technology; it’s about becoming a designer who can *exploit* the technology, making you a far more valuable asset to any engineering team.
Pros
- Comprehensive DfAM Principles Across Multiple Technologies: This course doesn’t just scratch the surface of one printing method. It meticulously breaks down DfAM rules for FDM, SLA, SLS, and metal printing, which is crucial for engineers needing to specify optimal designs for diverse applications. This multi-process perspective is a huge advantage for developing `job-ready skills`.
- Practical Application with Real-World Case Studies: The inclusion of proven aerospace and medical DfAM case studies is invaluable. It moves beyond theoretical concepts, showing how these principles translate into tangible benefits like weight reduction and performance enhancement in high-stakes industries, preparing you for `real-world projects`.
- Deep Dive into Advanced Optimization Techniques: The focus on topology optimization, generative design, and lattice structures sets this course apart. These are not just buzzwords; they are essential tools for maximizing AM’s potential for weight savings and custom functionalities, which are often overlooked in more basic courses.
- Addressing Common AM Challenges: The course directly confronts critical issues like layer adhesion, anisotropy, support structure design, and overhangs. Learning how to predict, prevent, and design around these problems is vital for producing functional, high-quality parts, rather than just aesthetically pleasing ones.
Cons
- While excellent in its theoretical and conceptual depth, for those seeking intense `hands-on labs` with specific `industry-standard tools` like particular CAD/CAE software packages for every single DfAM technique, they might find themselves needing to supplement the course with self-directed practice. It provides the “how-to” mentally, but the actual button-pushing in specific software might require independent exploration or separate dedicated tutorials.