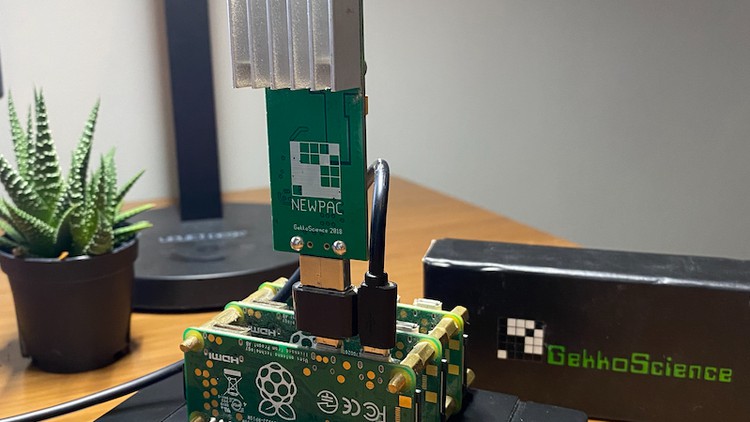
How to setup the Gekkoscience Newpac for SOLO mining on the Raspberry Pi
What you will learn
How to write the Raspberry Pi OS image to a MicroSD card
Connecting to the Raspberry Pi through SSH
Install & configure CGMiner on the Raspberry Pi for the Gekkoscience Newpac
Creating a shell script to start the miner
Configure the Raspberry Pi to start the miner upon boot
Description
Welcome to the Raspberry Pi Mining with Gekkoscience Newpac course!
Here we will take your Raspberry Pi perform all the steps in order to run your Newpac USB miner successfully!
The command line can be a daunting task for any user. Not to worry, all the commands used in this course will be documented and attached for your use to copy and paste to make things as easy as possible.
By the end of this course you’ll have your Raspberry Pi running your Newpac miner, accepting work to support the blockchain!
The best part about this course is you can use any Raspberry Pi that you may have laying around. As long as it has a wireless card and a USB port on the Raspberry Pi you can use it! Make sure to use a power supply that provides enough amperage to power both the Raspberry Pi and Newpac. The regular Raspberry Pi power supplies should provide enough amperage, just make sure you’re using 2.5A rated or greater.
This course is made for educational purposes for the simple fun and not making money. It’s no secret that these little miners are out performed by much larger miners. This is a good entry level device to learn how mining works and to run for fun!
Content