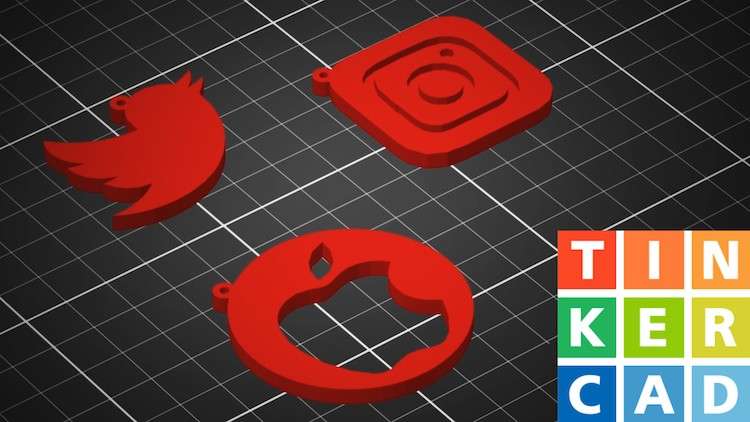
Create amazing custom 3D designs you can 3D print
What you will learn
Learn how to use Tinkercad to design amazing 3D models and 3D print them
Learn how to convert any logo image to an SVG vector image using Adobe Illustrator
Create shapes from reference images using Tinkercad
You will learn how to create your own custom Keyring object using Tinkercad
Learn how to export your designs from Tinkercad to your favourite 3D printing slicer
Why take this course?
🚀 **[Course Headline](#):** Create Amazing Custom 3D Designs You Can 3D Print with Ruan Lotter!
—
👩🏫 **[Course Description](#):**
Welcome to the “Tinkercad – Design & 3D Print A Keyring” course where creativity meets innovation. In this comprehensive guide, I will walk you through the process of transforming your favorite logos or designs into a tangible custom keyring that you can 3D print! This journey will take you from conceptualizing your design to holding your personalized keyring in hand.
—
**[Getting Started with Vector Artwork](#):**
Our adventure begins by creating vector artwork using **Adobe Illustrator**. Don’t worry if you don’t have a subscription; you can download a free trial from Adobe’s website, or you can opt for free alternatives like **Inkscape** or **Gimp**. These tools will be our canvas for bringing your designs to life.
—
**[Course Topics](#):**
1. **Introduction** – Understanding the scope and the tools we’ll be using.
2. **All About Logos** – Exploring what makes a great logo and how to select one for your keyring.
3. **Importing into Adobe Illustrator** – Learning how to import your chosen design into Illustrator.
4. **Tracing Your Logo in Adobe Illustrator** – The step-by-step process of tracing your design to create a scalable vector graphic (SVG).
5. **Export Vector Logo as SVG** – Preparing your artwork to be used in Tinkercad.
6. **Create Your First Tinkercad Project** – Starting your first project in the Tinkercad environment.
7. **Importing SVG Files into Tinkercad** – Bringing your vector design into Tinkercad for 3D modeling.
8. **Create Basic Keyring Shape** – Constructing the basic geometry of your keyring.
9. **Create The Ring Geometry** – Designing the intricate parts that will hold your keys.
10. **Export STL File for 3D Printing** – Ready to transform your design into a printable file.
11. **Slicing Your STL** – Understanding and preparing your design for printing on your 3D printer.
12. **Conclusion** – Wrapping up our project and reflecting on what we’ve accomplished.
13. **[Bonus Lesson](#)** – Create a Personalised Signature Keyring! A special lesson to add your personal touch to your designs.
—
🎓 **[What You Will Learn](#):**
– How to convert any logo image to SVG vector using Adobe Illustrator.
– How to import the SVG into Tinkercad and use it as the base for your 3D design.
– How to create a 3D object using the vector image you’ve prepared.
– How to craft your own custom keyring in Tinkercad, ensuring it’s both functional and unique.
– How to export your project as an STL file ready for 3D printing.
—
📸 **[Class Project](#):**
As you progress through the course, I encourage you to upload your class project deliverable as a JPG or PNG to the Skillshare project gallery for review. This will not only showcase your work but also allow others to get inspired by your creativity. The details regarding the project can be found under the “Class Project” section.
—
🤝 **[Final Thoughts](#):**
I am excited to accompany you on this creative journey and help you unlock the potential of Tinkercad. I’m here to answer any questions you may have along the way. Happy 3D designing, and let your imagination run wild!
All the best,
Ruan Lotter