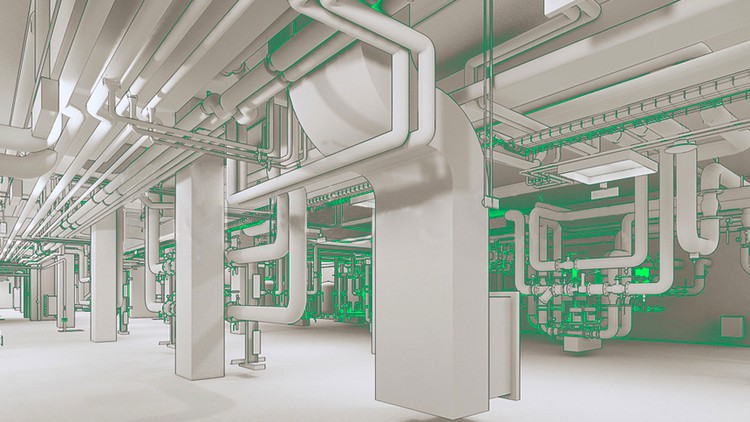
Covering Essentials, Intermediate, and advanced features of Plumbing Systems in Revit MEP
What you will learn
Placing Plumbing Fixtures into a Model
Setting up Hot and Cold Water Supply Systems
Modeling Ventilation Stacks and Drain Pipes
Connecting Pipes and Ventilation Stacks
Connecting and Adjusting Pipes and Fittings
Description
The course starts off with a project where we will be exploring how to build a complete plumbing system for a house in Revit
Each tool is explored both trough project workflow as well as in-depth explanation of all functions and possible applications
Designing a layout for our plumbing system is the first step in any plumbing project in Revit. We start this course off by preparing the project, linking in the architecture model and sketching out the basic layout.
When it comes to modeling pipes, it can be really complicated to get everything to come together perfectly, this is why it’s necessary to have a good sketch before you start placing pipes.
In this set of tutorials, we’ll explore how to model a plumbing system using Revit MEP. We’ll begin by placing some plumbing fixtures through out a simple residential project. Once fixtures are in place, we’ll then set two supply systems; the first a hot water supply and the second a cold water supply. From there we’ll learn how to model drains, vents, and stacks tying the entire system together. After working through this tutorial, you’ll gain a solid understanding of how to create a basic plumbing system and you should be able to overcome a lot of the obstacles that modeling a 3-D plumbing system may throw at you.
We will focus on how to properly configure our projects to work with plumbing installations. And we will do it taking into account the collaborative work necessary for multi-disciplinary projects. You will learn to model, design and report models of sanitary facilities under the BIM environment
Content