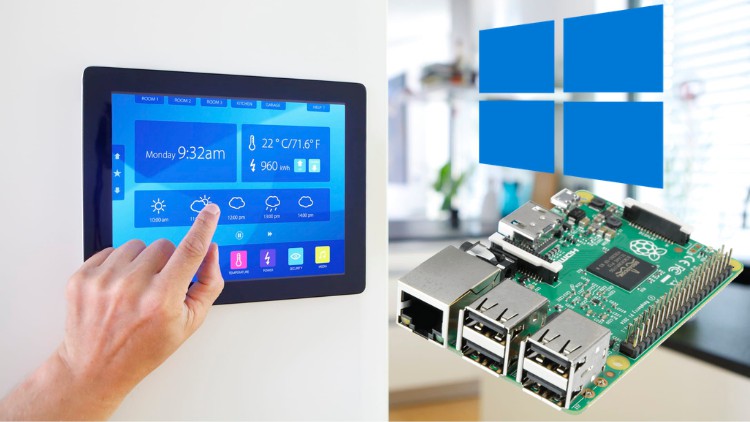
Use Raspberry Pi and Windows 10 to build a home automation system that can operate home devices automatically
What you will learn
How this Home Automation Device is structured, user interface, device connection and working principle.
Managing Different Rooms
Device Addressing: Address Mapping
What is the difference between I²C and other communication methods
Circuit Connection
Controlling High power loads via Arduino
Software Needed to Code Arduino and Raspberry Pi
Communication Protocol
Raspberry Pi and Arduino communication
Windows 10 IoT User Interface
Arduino Coding
Visual Studio User Interface and Raspberry Pi Coding
What is I²C and how it works
What You Need to Get things done
Tips and Tricks and Helpful Resources
I2C Communication Protocol
Device Address Mapping
How to code I²C the right way and how to talk to multiple devices easily
Code and Circuit Schematics to connect Arduino and Raspberry Pi
Communication Protocol between Raspberry Pi and Arduino
Tips and Tricks
Advantages of I²C and Disadvantages of I²C
I²C Operation
Main I²C Bus Library Functions
How to implement I²C in your project
Why using I²C will make your life easier
Known Issues
Description
Use Raspberry Pi and Windows 10 to build a home automation system that can operate home devices automatically
Today, technology is enhancing human life. Technology is evolving in a very fast manner. Automation was an idea and a dream but not today. By combining the latest technologies with Home Devices, Everyone can build A Fully Automated Home. With the Raspberry Pi and Windows 10 IoT, we can build a home automation system that is capable of handling and operating any of your home devices automatically.
In this course, an Arduino UNO will be used to control different devices and reads different sensor data. Raspberry Pi will send requests for Arduino UNO to get the sensor data collected.
Each room can have multiple controllable devices(Light, Fan, Wall Socket), PIR Sensor, temperature sensor, and LDR, we will explain how to connect everything and how to code each part in a step-by-step manner.
Windows 10 IoT Simplifies the Internet of Things (IoT) with a rich device platform, world-class developer tools, enterprise-grade long-term support, and a global partner ecosystem. Do more at the edge with built-in machine learning capabilities and scale with the power of Azure IoT. Use the power of Windows to create a solution quickly and securely. We stand behind our products with 10 years of support.
Why we are using Windows 10 IoT Core:
Built for small, secure, smart devices. The smallest Windows 10 operating system still has the manageability and security expected from Windows.
Smart: Easily bring Artificial Intelligence (AI) and Machine Learning (ML) to the edge with Windows.
Secure: Help keep devices secure for the long term.
Fast: Quickly get IoT devices to market and maintain for the long term with out of the box OS.
What about Communication Protocols?
I²C (pronounced I-squared-C)
I2C Communication between Arduino and Raspberry Pi: A step by step guide to Master I2C Protocol and Start using it to connect your Arduino and Raspberry Pi
I²C Allows communication of data between I2C devices over two wires. which makes it easier for anyone to exchange information without too much wiring.
In today’s world, every electronics hobbyist works with Arduino and Raspberry Pi to do his projects. With the introduction of Windows 10 IoT Core, Microsoft is also into the embedded world. Today Internet Of Things is a buzzword, but for basic things, we need an Arduino to communicate with a Raspberry Pi. In this course, I will explain how to communicate the Arduino with the Pi using an I2C bus and Windows 10 IoT Core.
I2C communications have become the de facto method of communicating between microcontrollers, microcomputers, and a variety of integrated circuits and sensors. It has been around since 1982 and was originally developed for use in television receivers.